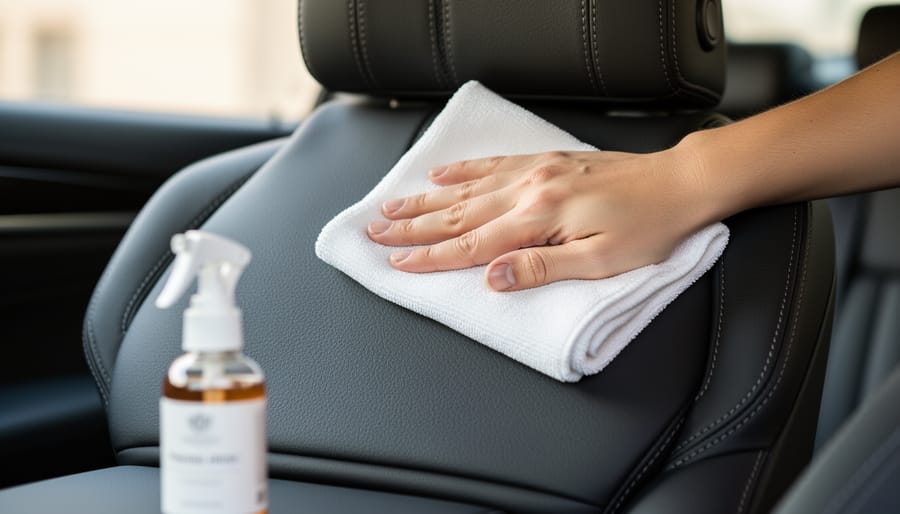
Cleaning premium leather without leaving a greasy, over-shiny finish comes down to three things: using pH-neutral cleaners designed for automotive or furniture grade leather, applying product sparingly with a microfiber cloth, and buffing thoroughly after conditioning. The whole process takes about 20 minutes per seat or furniture section, and the result is a natural, matte finish that looks factory-fresh rather than slicked with armor.
If you’ve ever walked away from a leather care session only to find your seats looking like they’ve been doused in cooking oil, you’re not alone. That slick, reflective sheen is the telltale sign of silicone-heavy dressings or over-application, and it cheapens the look of premium materials faster than anything. High-end leather interiors are meant to have a soft, supple appearance with just a hint of natural luster, not the glossy bounce of a bowling lane.
The good news? Achieving that clean, refined look isn’t about buying expensive boutique products. It’s about technique and choosing formulas that nourish the leather without coating it in synthetic shine agents. Think of it like skincare for your car or living room: the goal is healthy, balanced skin, not a layer of makeup. Treating your interior with the same thoughtfulness you’d give gift-worthy care means understanding what your leather actually needs versus what marketing promises.
In this guide, you’ll learn exactly which leather cleaner and conditioner products to reach for, how to apply them without overdoing it, and how to verify your work so you can trust the finish will stay matte and luxurious for months.
What You’ll Need: The Right Tools Make All the Difference
Getting your premium leather spotless without that telltale slickness comes down to having the right supplies on hand. Think of it like assembling ingredients for a recipe, you wouldn’t substitute olive oil for butter in a cake and expect the same result. The same precision applies here.
Start with the foundation: genuine microfiber cloths, and not just any ones from the discount bin. You want plush, high-GSM (grams per square meter) microfiber towels with a tight weave. These absorb product completely rather than pushing it around the surface, which is exactly how greasy films form. Pick up at least three: one for cleaning, one for drying, and one for final buffing.
Your leather cleaner deserves serious scrutiny. Skip anything labeled “all-purpose” or promising miracle shine. You’re after a pH-balanced formula specifically designed for automotive or furniture leather, ideally with a pH between 6 and 8. Products with silicones, petroleum distillates, or heavy conditioners are your enemy here, they’re the usual culprits behind that slick, artificial look. Read the ingredient list like you’d check a skincare label.
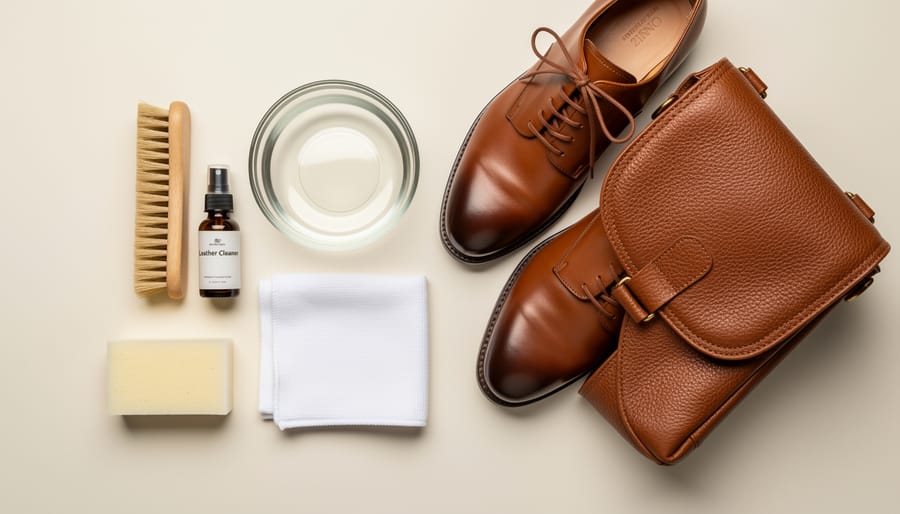
Here’s what should be in your cleaning kit:
- Two to three high-quality microfiber towels (different from typical cleaning rags)
- pH-balanced leather cleaner without silicones or heavy oils
- Soft-bristled detailing brush or horsehair brush for textured areas and seams
- Distilled water in a spray bottle for diluting and rinsing
- Small bowl for mixing diluted cleaner if needed
- Leather conditioner (optional and used sparingly, only if leather feels dry)
The soft brush matters more than you’d think. Premium leather often has grain texture and perforations where grime hides. A gentle brush lifts dirt from these spots without scratching, ensuring you actually clean the surface rather than smearing residue around.
Distilled water might seem fussy, but tap water contains minerals that leave their own film. When you’re trying to avoid any residue, starting with pure H₂O makes sense. You’ll use it to lightly dampen cloths and rinse away cleaner, keeping everything controlled and minimal.
Before You Start: Safety and Prevention Tips
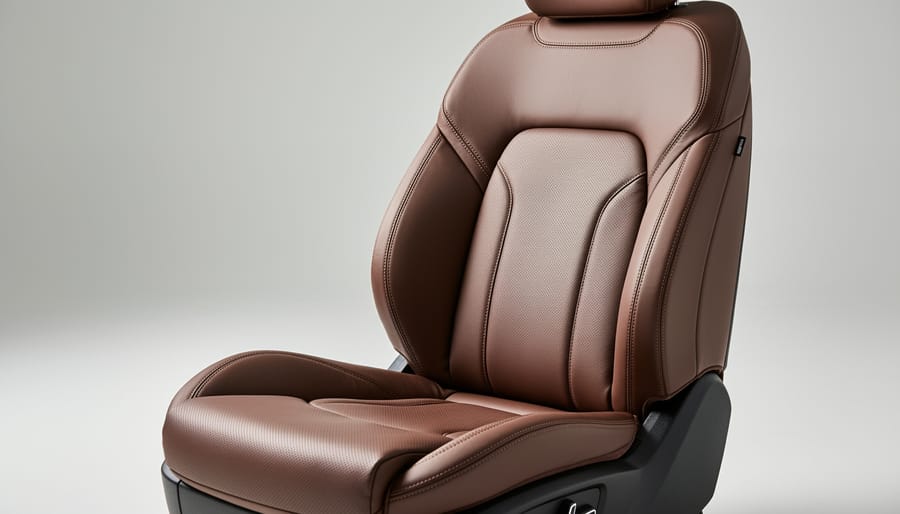
Before you touch that leather with any product, let’s talk about what could go wrong. Premium leather is surprisingly delicate, and the wrong approach can leave you with discoloration, cracking, or that persistent greasy film you’re trying to avoid in the first place.
Start with a spot test every single time, even with products you’ve used before. Choose an inconspicuous area like the lower side bolster or under the seat, apply a small amount of cleaner, and wait 24 hours. If you see any darkening, stiffness, or residue, stop immediately. Think of it like patch-testing skincare ingredients on your wrist before applying them to your face, the principle is identical.
Keep water to a minimum. Leather tolerates light moisture but hates saturation. Your microfiber cloth should be barely damp, never dripping. Excessive water seeps into seams, causes stitching to rot, and leaves water marks that attract more dirt.
Skip abrasive materials entirely. No scrub brushes, rough towels, or magic erasers. These scratch the protective finish and create a porous surface that absorbs oils and dirt, making future greasiness worse.
Know when to stop. If you’re dealing with extensive staining, aniline or suede leather, vintage interiors, or damage from previous products, call a professional leather specialist. Some situations require expert assessment and specialized treatments that home methods can’t replicate. There’s no shame in protecting a significant investment by asking for help.
The Step-by-Step Cleaning Process
Preparation and Initial Cleaning
Start by vacuuming your leather seats or interior surfaces with a soft brush attachment. Move slowly across seams, perforations, and textured areas where dust and crumbs hide. Pay extra attention to crevices where dirt compacts over time and becomes harder to remove later.
Once you’ve cleared loose debris, grab your chosen pH-balanced leather cleaner and a clean microfiber cloth. Before applying it to visible areas, you need to test it on a hidden spot. Look for a section under the seat, along the back panel, or inside a door pocket where leather won’t be seen during normal use. Apply a small amount of cleaner, wait five minutes, then check for discoloration, texture changes, or any greasy residue.
If the test spot passes inspection, lightly dampen your microfiber cloth with the cleaner. The cloth should feel barely moist, not wet. Excess liquid is your enemy here because it can seep into leather pores and create the exact greasy appearance you’re trying to avoid.
Work in sections no larger than two square feet at a time. This approach lets you maintain control over moisture levels and ensures you’re removing all product before it dries into a film. Starting with small, manageable areas also helps you gauge how much cleaner your specific leather actually needs, which varies based on the finish and age of the material.
The Gentle Clean: Technique Matters
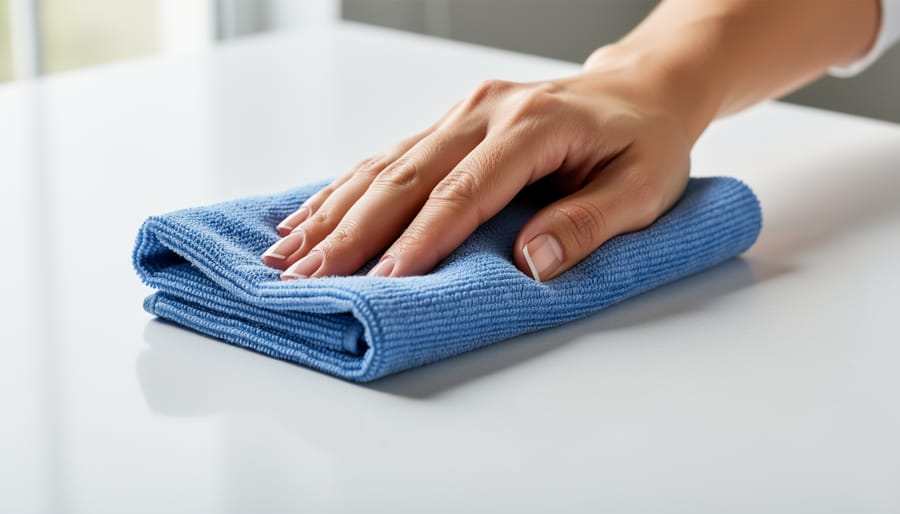
With your surface prepped and tested, it’s time for the actual cleaning, and how you clean matters just as much as what you use.
Start with minimal product. Spray your pH-balanced cleaner onto a clean microfiber cloth, not directly onto the leather. You want the cloth lightly dampened, not soaking wet. This control prevents oversaturation, which drives moisture into seams and stitching where it can cause long-term damage.
Work in small sections, about the size of a car seat cushion. Use gentle, circular motions with light pressure, think of polishing a delicate silk scarf, not scrubbing a kitchen counter. The goal is to lift dirt and oils that sit on the surface, not to grind cleaner into the leather’s pores. If you’re pressing hard enough to see your knuckles whiten, you’re working too aggressively.
For textured or perforated leather, switch to a soft-bristled brush. Use the same light touch, working the bristles gently into the grain to dislodge dirt without scratching. Keep the brush barely damp with cleaner.
After each section, immediately wipe away the loosened dirt with a separate, dry microfiber cloth. This second cloth catches the grime before it can resettle or streak. You’re essentially doing a two-step process: lift with the damp cloth, then remove with the dry one.
Resist the urge to go over the same spot repeatedly. One gentle pass should handle typical dust and light soiling. Stubborn marks might need a second pass after the first has dried, but constant scrubbing creates friction heat and can damage the leather’s protective finish, ironically making it more prone to that greasy appearance you’re trying to avoid.
Drying and Buffing to a Natural Finish
After cleaning, the drying and buffing stage is where you’ll either achieve that coveted natural matte finish or end up with the greasy-looking surface you’re trying to avoid. This step removes any remaining product residue and ensures the leather looks luxurious rather than slick.
Start by taking a completely dry, clean microfiber cloth, one you haven’t used for cleaning, and gently wipe down the entire surface. You’re not scrubbing here; you’re collecting any moisture and residual cleaner still sitting on the leather. Work in the same direction as your cleaning passes, using light pressure. If the cloth becomes damp, flip to a dry section or grab a fresh one.
Next comes the buffing process, which truly makes the difference. Using a fresh, dry microfiber cloth, work in small circular motions across the leather surface. You’ll feel a slight resistance at first as you lift away microscopic product residue. As you continue, the leather will begin to feel smooth under your hand rather than tacky or slippery. This buffing action redistributes the leather’s natural oils evenly across the surface while removing anything that would create that artificial shine.
Pay attention to seams and perforations where product can pool. Use a corner of your cloth to gently wick away any moisture from these crevices. Don’t rush this step. Proper buffing typically takes three to five minutes for a car seat or furniture section.
When you’re finished, the leather should feel smooth and dry to the touch, with a soft matte appearance that looks maintained but not coated. There should be no shine when light hits the surface at an angle.
How to Tell When You’re Done (and What to Do Next)
You’ll know your leather is properly clean when it passes two simple tests. First, run your palm across the surface. Clean, residue-free leather should feel smooth and slightly cool to the touch, never tacky, slick, or slippery. If your hand glides too easily or feels like it’s skating on an oily film, you’ve left product behind. Second, examine the surface under good natural light. Properly cleaned premium leather has a soft, matte appearance with a subtle natural sheen that comes from the leather itself, not from layered product. You shouldn’t see any streaks, hazy patches, or areas that look shinier than others.
If something feels off, don’t panic. Grab a fresh, completely dry microfiber cloth and buff the entire surface again using circular motions. This extra buffing often lifts residual product you missed the first time. For stubborn greasy spots, lightly dampen a clean cloth with distilled water only and wipe the area again, then immediately dry and buff.
Going forward, clean your leather every four to six weeks depending on use. Your car’s interior might need attention monthly if you drive daily, while a leather sofa you use lightly could stretch to eight weeks. The key is establishing home care habits that keep dirt from building up rather than waiting until the leather looks visibly grimy.
As for conditioning, less is genuinely more with premium leather. Most high-quality automotive and furniture leather has a protective topcoat that doesn’t absorb conditioner the way unfinished leather does. Condition only once or twice a year unless the leather feels genuinely dry or you notice fine cracking starting to appear. When you do condition, use a tiny amount and buff thoroughly. Overconditioned leather is exactly what creates that greasy buildup you’ve been trying to avoid.
Your Questions About Grease-Free Leather Care, Answered
Why does my leather interior feel greasy even after cleaning? You’re likely using too much product or one that contains heavy oils, silicones, or wax-based conditioners designed for ancient leather furniture rather than modern automotive finishes. Premium car leather typically has a protective coating that doesn’t need deep conditioning, excess product just sits on the surface, attracting dust and creating that slick feel. The fix is simple: use less cleaner, buff more thoroughly, and skip the conditioner unless your leather is genuinely dry and cracking.
Can I use the same products on all leather types? Not if you want consistent results. Aniline leather (the soft, uncoated stuff in ultra-luxury cars) needs gentler care than the pigmented, sealed leather found in most premium vehicles. Check your owner’s manual or look for a tag under the seat that identifies the leather type. When in doubt, start with the mildest pH-balanced cleaner and test it somewhere hidden first. Some folks reach for antimicrobial products thinking they’ll offer extra protection, but standard leather cleaners work fine, the key is proper application, not adding specialty ingredients.
How often should I clean my leather interior?
Every two to three months for regular use, monthly if you have kids or pets. Spot-clean spills immediately to prevent staining.
What removes sticky residue from previous products?
Dampen a microfiber cloth with distilled water and wipe the area repeatedly, drying and buffing between passes. It takes patience, but water cuts through most buildup without adding new chemicals.
Will skipping conditioner dry out my leather?
Modern car leather rarely needs conditioning, once or twice a year is plenty. Over-conditioning causes the greasy problem you’re trying to avoid.
What about specific stains like ink or grease? Address them immediately with a dedicated leather stain remover, not household cleaners. Blot rather than scrub, work from the outside of the stain inward, and expect to make multiple gentle passes rather than one aggressive attack. For stubborn marks on light leather, a professional detailer might be worth the cost, DIY attempts with the wrong solvent can permanently discolor the surface or strip its protective finish.
If your leather still feels tacky after following the cleaning process, you’ve left product residue behind. Go over it again with a barely-damp microfiber cloth using just distilled water, then immediately buff dry with a fresh cloth. The natural finish you’re after shouldn’t feel like anything at all, just smooth, clean leather.